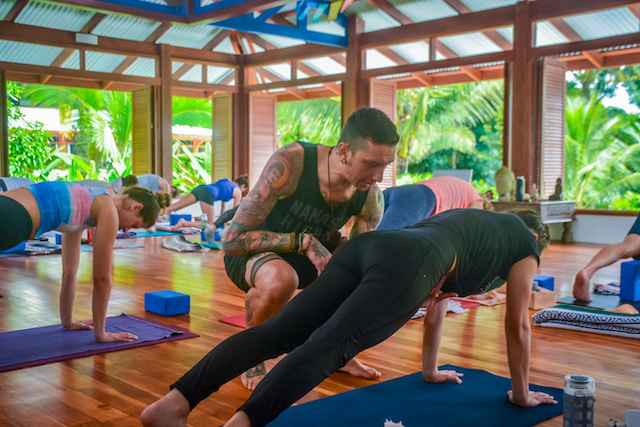
If you like to dabble in various styles of yoga, you’re not alone. One of the most exciting things about modern yoga is the seemingly endless number of methods and philosophies to choose from. However, with all of this variety, learning the correct alignment of poses has become even more confusing.
Yoga alignment refers to the specific way of doing poses in order to lower the risk of injury and increase the physical benefits.
In other words, it’s the ideal way of doing a yoga pose. However, if you hop from one teacher to the next, you’re likely to hear conflicting advice on what constitutes “ideal alignment” for each pose.
The type of training a teacher has encountered usually has a significant impact on how they teach. Some teachers follow textbook standards of alignment, taking a dogmatic approach to poses. Unfortunately, these standards weren’t necessarily created with women in mind, or even Western bodies, so they aren’t always the best approach. Meanwhile, the rise of social media yogis means that people now often copy yoga poses at home. However, without an awareness of how to modify poses to suit their own bodies, they’re running the risk of injury.
Given all of the conflicting advice out there, it’s important to develop your own knowledge of alignment.
By following best practice tips, avoiding common mistakes, and adapting poses to suit your own capabilities, you’re more likely to enjoy a life-long, injury-free yoga practice.
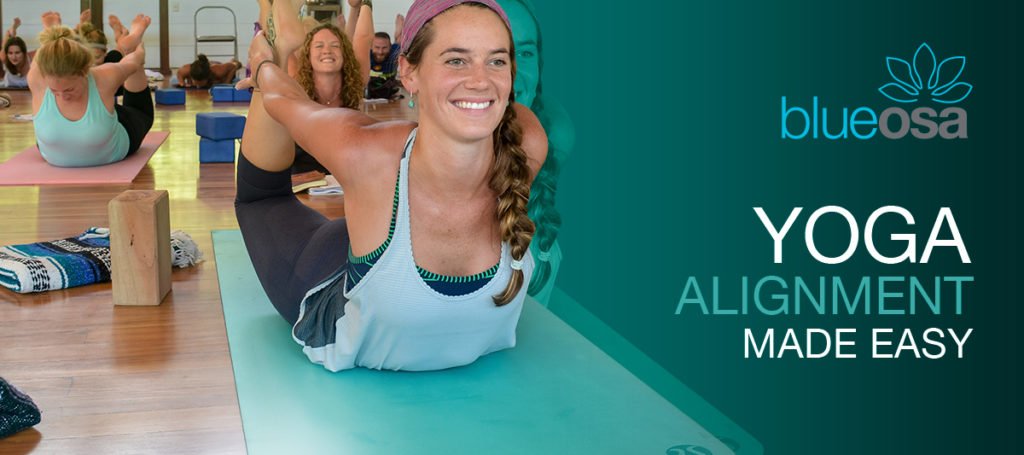
What is Yoga Alignment?
Alignment is a term that refers to the positioning of joints in relation to one another. The aim of yoga alignment is to avoid excessive strain on the joints and to enable optimal movement of the body. However, this doesn’t mean there’s only one specific way to do each pose. Alignment can and should be modified and adapted to suit a person’s capabilities. This is why, although yoga alignment suggests an ideal way of doing things, it’s also flexible. The safest way to teach yoga is to take a non-dogmatic approach. There’s no perfect, “one size fits all” way of doing a yoga pose, and it’s important to take individual differences into account.
Yoga should be accessible to everyone. Pregnancy, age, and injuries are all factors that can affect the safety of a pose for an individual. This is why props and modifications are often essential to creating a safe and accessible practice. Also, although each yoga method has its own interpretation of optimal alignment, it’s equally important to take responsibility for your own body. If you develop an understanding of alignment, you’ll be able to make the majority of yoga poses work for you.
Importance of Yoga Alignment
There’s a lot more to yoga alignment than looking good! The purpose of optimal alignment in yoga is to create maximum stability and minimize wear and tear on the joints. It refers to the safest way to do a pose and for this reason, it’s hugely important. You might be strong enough to get yourself into an advanced pose, but without the correct alignment, you’re running the risk of injury.
However, no two bodies are exactly the same, and blindly copying the same alignment as someone else is a risky way to go about it. By cultivating awareness within yourself, you can learn to feel the pose and recognize your body’s capabilities and limitations. By becoming more aware, you’re also more likely to realize when you need help in the form of props or modifications.
Wear and tear happens over time and repetitive injuries often occur after years of practice. Instead of trying to break old habits later in life, it’s worth establishing the best alignment for you as early on as possible. If you’re not sure where to start, consider trying Iyengar yoga. This form of yoga, which uses lots of props, emphasizes the importance of precision and alignment.
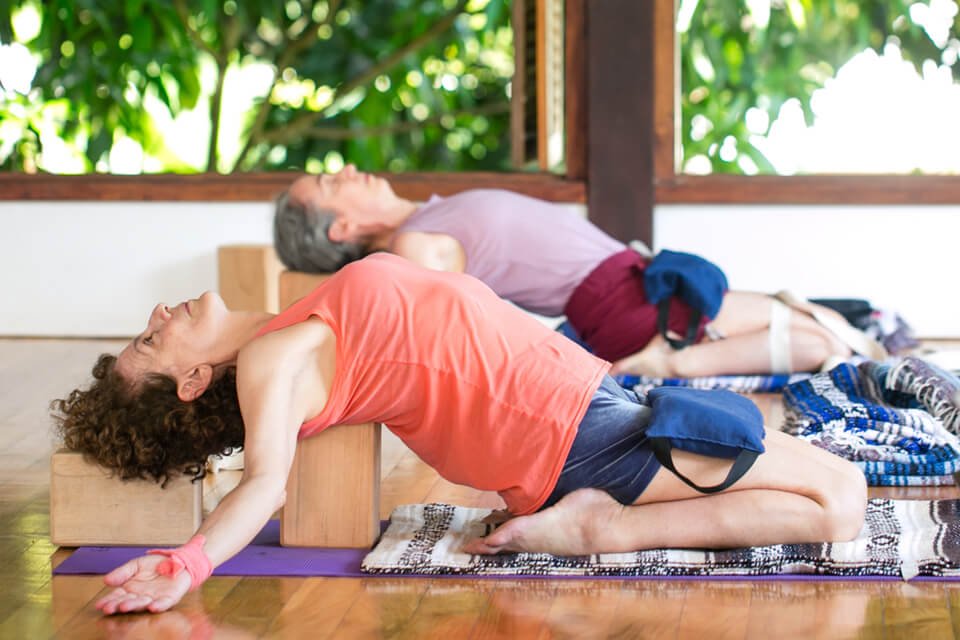
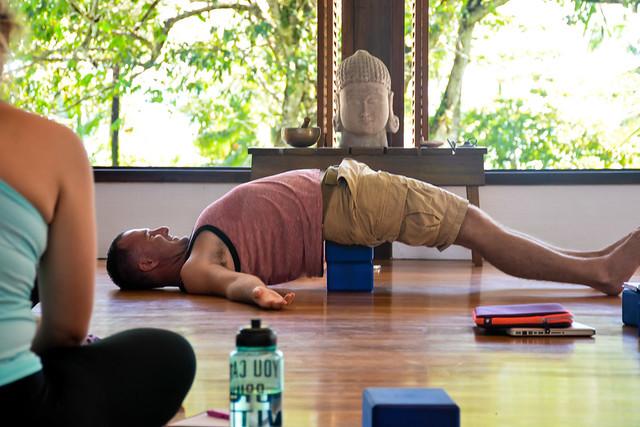
Benefits of Using Yoga Props
Using blocks, straps, and grippy mats is a great way to practice without compromising your form. For example, when you first start practicing Standing Forward Fold, you might struggle to place your hands on the mat while keeping a straight spine. You can bend your knees, but that reduces the benefits of the hamstring stretch. Instead, try placing blocks under your hands and enjoy all of the benefits of the stretch.
Grippy yoga mats are another great way to maintain alignment. If you find that your hands sweat during yoga class, maintaining Downward Dog can be difficult. If your hands start to slip forwards on the mat, you can end up sliding out too far or overcompensating by bringing your hands too close to your feet. This reduces the strengthening benefits of Downward Dog, as well as placing stress on the body. A strap is another helpful addition to any yoga practice. If you can’t reach your feet with your hands in Seated Forward Fold, for example, loop a strap around your feet and hold this instead. This way, you can fold into the stretch, while maintaining a straight spine.
Tips for Better Alignment
- Focus on stability: By focusing on stability and support, you’ll avoid putting undue strain on your body. Stabilizing your core is essential for almost every pose, whether it’s a twist or a balance pose. Focusing on a stable core will also help to protect your spine and tone your abdominal muscles. You should feel supported in every pose, but if you don’t, make sure to modify.
- Be flexible: Take a nondogmatic approach to yoga. Get curious about what works for your body and interpret poses to suit you. Become aware of your limitations and explore options, without thinking of them in the context of “beginner” or “advanced”.
- Release tension: Pay attention to any feelings of tension within your body, which indicates strain or overexertion. Holding your breath also creates tension, so make sure to breathe as you move in and out of poses.
- Use your senses: Alignment can become intuitive over the years, but it’s essential to use your senses when you first get started. For example, you can check where your feet are on the mat, look to see if your knees are stacked over your ankles, and use touch to check that your hips are squared.

Common Yoga Alignment Mistakes
1. Easy Pose (Sukhasana)
Typical alignment mistake: Rounded shoulders or a hunched back
Correct alignment: Sukhasana is a seated, cross-legged position that’s often used for meditation. However, although it looks simple, people often find this pose uncomfortable to maintain. We’re so used to sitting in chairs that transitioning to the floor can be problematic in terms of strength and balance. By focusing on the correct alignment, you’ll give your body the necessary support to sit comfortably in Sukhasana.
Maintaining a straight spine is essential in this pose. However, tightness in the lower hips and back makes it difficult to maintain a neutral pelvis, which we often overcompensate for by rounding the shoulders. Sitting on a blanket, bolster, or block lifts the hips and helps to level out the pelvis. The higher you sit, the easier you’ll find it to stay tall and keep a straight back. Once you’ve found your seat, focus on keeping your shoulders relaxed and stacked over your hips, while lengthening the sides of your torso.
2. Downward Dog (Adho Mukha Svanasana)
Typical alignment mistake: Rounded spine
Correct alignment: As one of yoga’s most frequently practiced asanas, Downward Dog is an essential pose to perfect.
Although Downward Dog is a full-body rejuvenating stretch when practiced in proper alignment, practicing incorrectly can lead to injury over time. In this pose, it’s far more important to keep a straight spine than it is to maintain straight legs. If your hamstrings are tight, as many beginner yoga students’ are, your shoulders will round to compensate.
This means that until you gain the strength and flexibility to maintain a ‘V’ shape with straight legs, it’s a good idea to bend your knees. When coming into Downward Dog, bend your knees slightly so that your sitting bones point towards the sky. Focus on lengthening your spine and drawing your shoulders towards your tailbone. By placing your hands further apart on the mat, you’ll create space in your shoulders and chest, allowing you to engage your abdominal muscles.

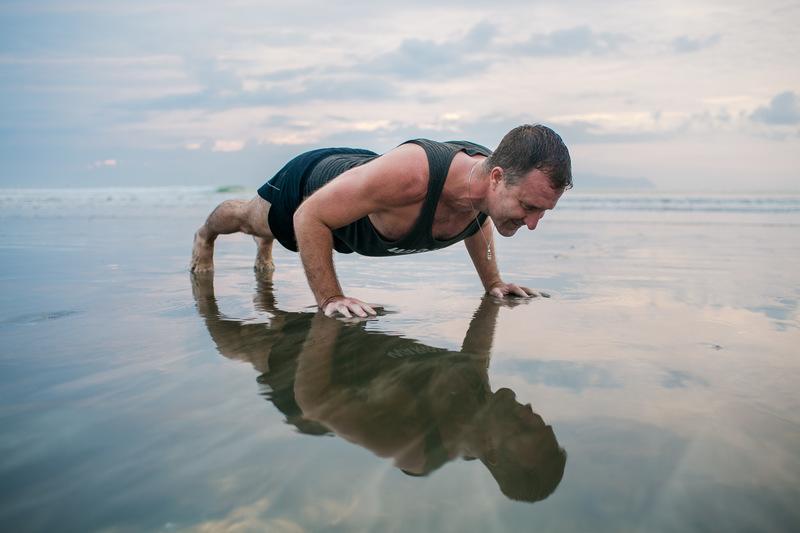
3. Plank Pose (Phalakasana)
Typical alignment mistake: Hips too low or too high, along with too much weight in the heels
Correct alignment: Plank pose is a challenging pose and people often find it difficult to achieve optimal alignment. However, when it comes to strengthening the upper body and toning the abdomen, it’s one of the most beneficial poses to practice. A common mistake is having too much weight on the heels when holding Plank Pose. This puts all of the pressure on the legs and glutes, instead of activating the arms, shoulders, wrists, and abdomen. By shifting forwards onto your toes, you’ll turn it into the core-activating pose that it’s supposed to be.
The hips also tend to cause alignment issues in Plank. If you dip your hips too low, you’ll end up putting too much pressure on your lower back.
Please aim to keep your hips level with your shoulders and melt your heart a little between your shoulders. Meanwhile, if you hold your hips too high, above the level of your shoulders, you won’t enjoy the strengthening benefits of the pose. You should feel strong and stable in this pose, but if you don’t, modify by lowering your knees to the ground.

4. Four-Limbed Staff Pose (Chaturanga Dandasana)
Typical alignment mistake: Shoulders too low, hips too high
Correct alignment: One of the best-known Ashtanga poses, Chaturanga is a wonderfully strengthening pose. However, it is often challenging for beginners as it requires strength, stability, and full-body alignment.
The most common modification is to drop the knees to the floor as you lower your chest halfway to the mat. However, if you’re practicing full Chaturanga with the knees lifted, focus on ensuring that your shoulders don’t drop below your elbows. This puts strain on the shoulders and wrists, which can lead to injury over time.
A good way to practice this alignment is to ask a yoga teacher or friend to watch you. Ask them to let you know when your elbows and shoulders are in alignment – this is the point at which you should stop lowering to the ground. If practicing alone, blocks are a great help. Place the blocks under your shoulders to stop you from lowering beyond the correct point. By practicing regularly with blocks, you’re likely to gain muscle memory, making it easier to practice the pose in correct alignment without them. Some yoga teachers still encourage their students to achieve a 90-degree bend in the elbows in Chaturanga. However, to maintain correct alignment and to minimize injury, you should only lower to the angle at which your body is supported. If this means that your elbows are bent at a greater angle than 90 degrees, that’s what you should stick to.
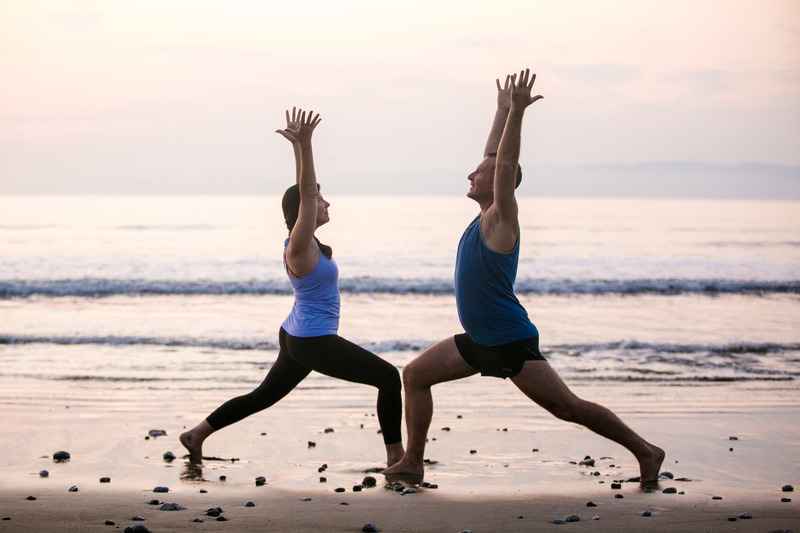
5. Warrior I (Virabhadrasana)
Typical alignment mistake: Feet too close, hips not square
Correct alignment: Warrior I is an empowering, strengthening pose, that acts as a foundation for more advanced poses. However, to create a stable foundation, you’ll need to focus on practicing this pose in the correct alignment. A common issue in this pose occurs when people place their feet too close together. When the feet are not far enough apart, it usually causes the front knee to move out of alignment with the front ankle, causing excess strain on the knee joint. By placing your feet wider apart on the mat, you can sink safely into the bend in your front leg.
Another issue with placing the feet too close together relates to the health of the hips and spine. When your feet are planted further apart, it makes squaring the hips to the front of your mat much easier. A longer stance allows you to rotate your pelvis, without twisting and straining your spine. How far apart your feet should be will depend on your body type. However, 3–4 feet apart is usually a good starting point for creating a stable base.
There is joy in movement and yoga should always be a nourishing and beneficial experience. However, in order to maximize the benefits of your practice, it’s important to focus on alignment. Our comprehensive yoga alignment course is designed to help you learn the correct form for more than 15 common postures. By considering the optimal alignment of every pose and then modifying it to suit your body, you’re far more likely to enjoy years of injury-free practice.
Comments